 | |
| Before |
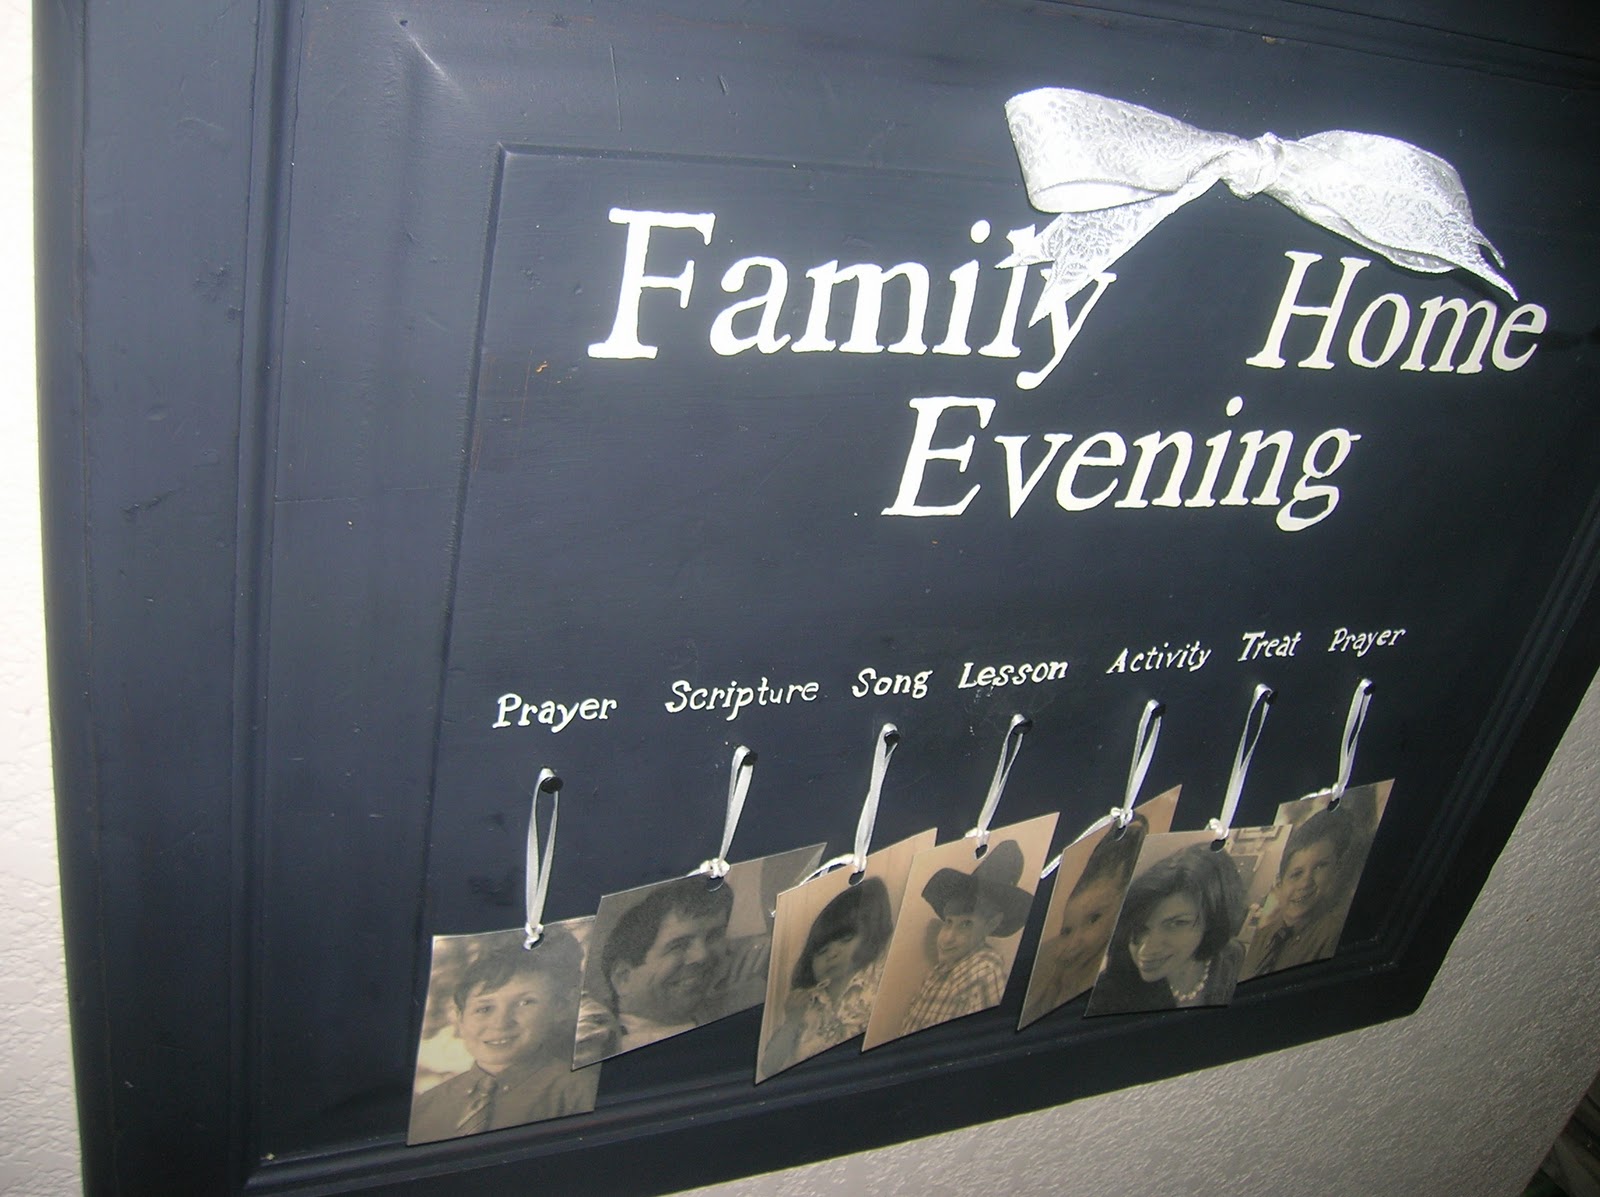 | |
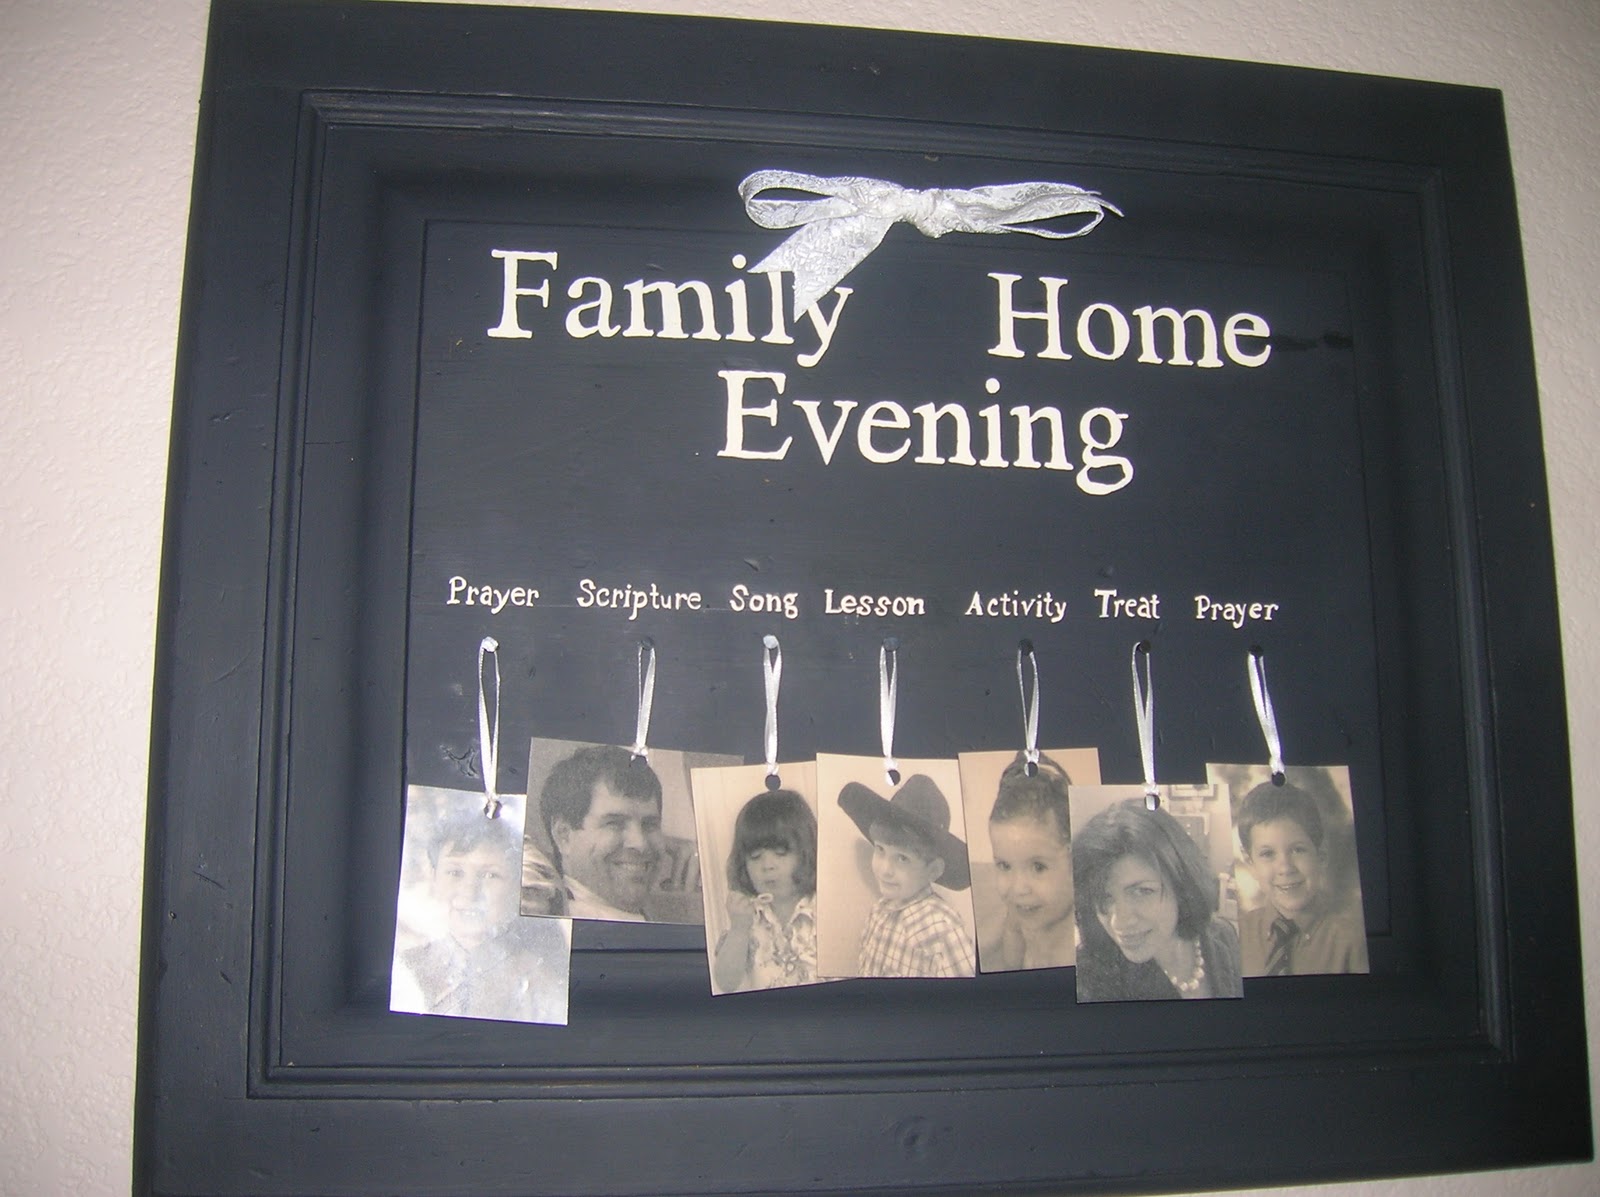
| After |

I began by pulling together some supplies:
Craft acrylic paint in black and cream
Large paint brush, and a scrip liner paintbrush Drill with 1/2" drill bit
Scrap of ribbon about 12" long
White card stock
Transparency film
Thin ribbon
Black upholstery tacks
Hammer
Graphite paper for transferring my design
Ruler or measuring tape
Pencil
Hole punch
Next I painted the cabinet door in black, two coats of paint on the front and one on the back.
While you're waiting for the paint to dry, do some magic on your computer by changing some of your favorite family pictures to sepia, and print them out wallet size on white card stock. Next, spray the transparency film and glue to the pictures to laminate them. Cut them out, and punch a hole in the top, and tie on some thin ribbon.
Print out the words you're going to want on your chart. This could easily be changed into a chore chart. The words I chose were Family Home Evening, Prayer, Song, Scripture, Lesson, Activity, Treats, Prayer.
I printed them in the size of font that I needed for my sign, and after doing some measuring for the center, I cut out the font, and placed them where I thought they should go. next place some graphite paper under the slips of paper, with the graphite side down, and trace the words with a pencil.
Remove the papers, and paint with the cream colored paint and your script liner.
When your paint is dry, drill two holes at the top about 1/2" apart from one another. Thread your thicker ribbon starting on the right hole from front t back, and then slip the ribbon through the left hole from the back to the front. Tie a knot and bow. You now have a hanger on the back to hang your chart.
Center the upholstery tacks under the smaller script and nail only part way in. Now hang your pictures from the tacks, and you're ready to go!
One less thing taking up space in the garage, and waiting to be "fixed." I've decided that baskets are all the rage, and that is the way that I store everything for the entertainment center. I'm also on the look out for the old VHS cabinets that were so popular in the 80's. Does anyone else think that DVDs are a rip off, because they scratch so easily? VHS tapes are only a dollar each at the thrift stores, and they last years longer than the DVDs do.
-Paulette
No comments:
Post a Comment